Knife, axe, saw: tools and the techniques that prevent injuries
The 'best knife' doesn't exist: only the one that fits your hand and your task—and the movements that keep you from getting hurt.
You’re sitting beside a fire that refuses to catch, your only stick of deadwood is too thick, and you need to split it in half. You look at your knife: a thin, 9 cm blade, not built for this. There are two ways this goes—you pry on the edge while twisting your wrist until it snaps, or you spend ten minutes learning the exact technique to split that wood without risking your hand. This module is about that second path: knives, axes, saws, and the movements that make them useful instead of dangerous.
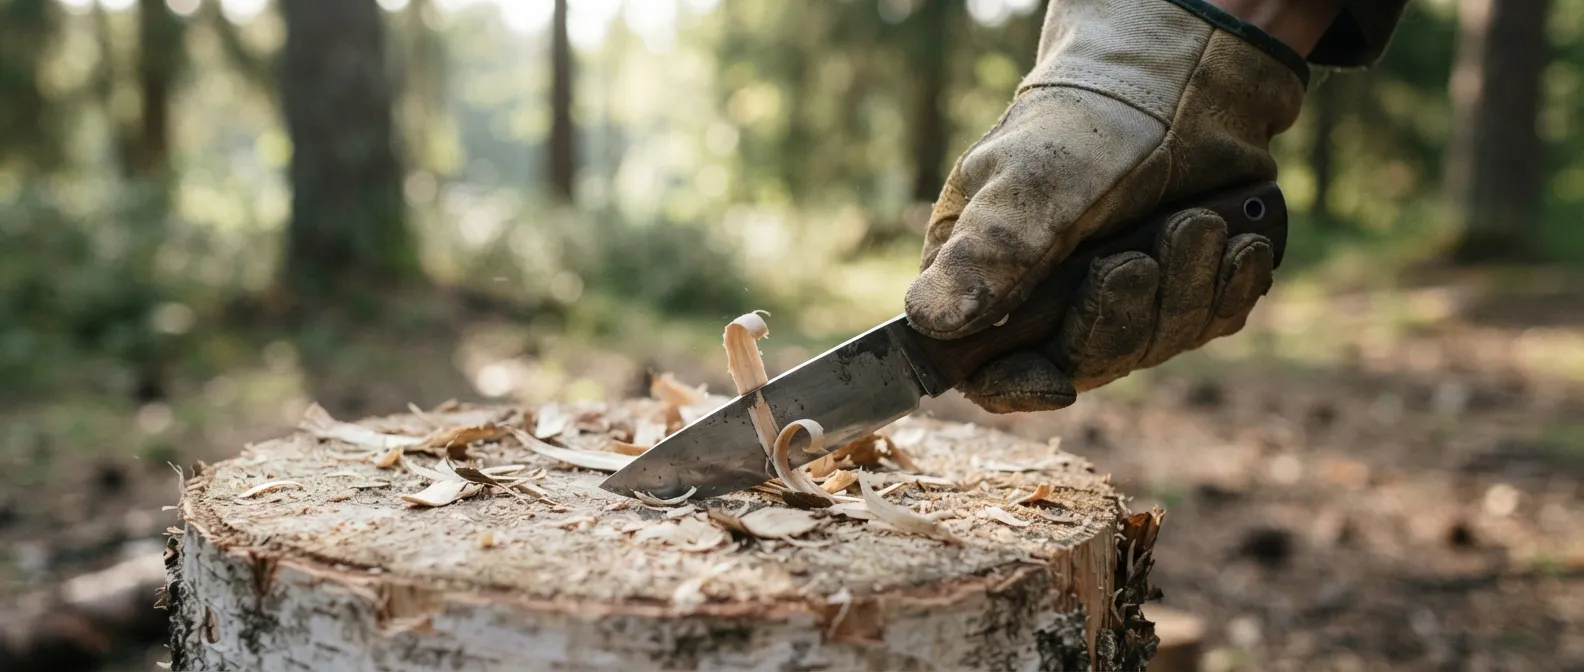
The endless debate over the “best knife”
Open any bushcraft forum and you’ll find the exact same thread, running for fifteen years: what is THE best knife? The honest answer is that it doesn’t exist, because the question is flawed. A knife is only good or bad relative to three things: what you’ll do with it, the size of your hand, and what you can afford to lose if it drops into a river.
First, intended use. Carving a spoon calls for a short, thin blade that responds to the slightest flick of your wrist. Batoning wood for the night requires a thick spine, a full handle, and a tip you aren’t afraid to abuse. Gutting a fish is the exact opposite of using a miniature axe. A single knife that tried to do everything would do everything poorly—it’s basic toolbox logic, not just knife design.
Second, your hand: a handle that’s too thin in a large hand slips under heavy force; a handle that’s too thick in a small hand causes fatigue after half an hour of carving. No spec sheet replaces trying a knife in store or borrowing one from friends.
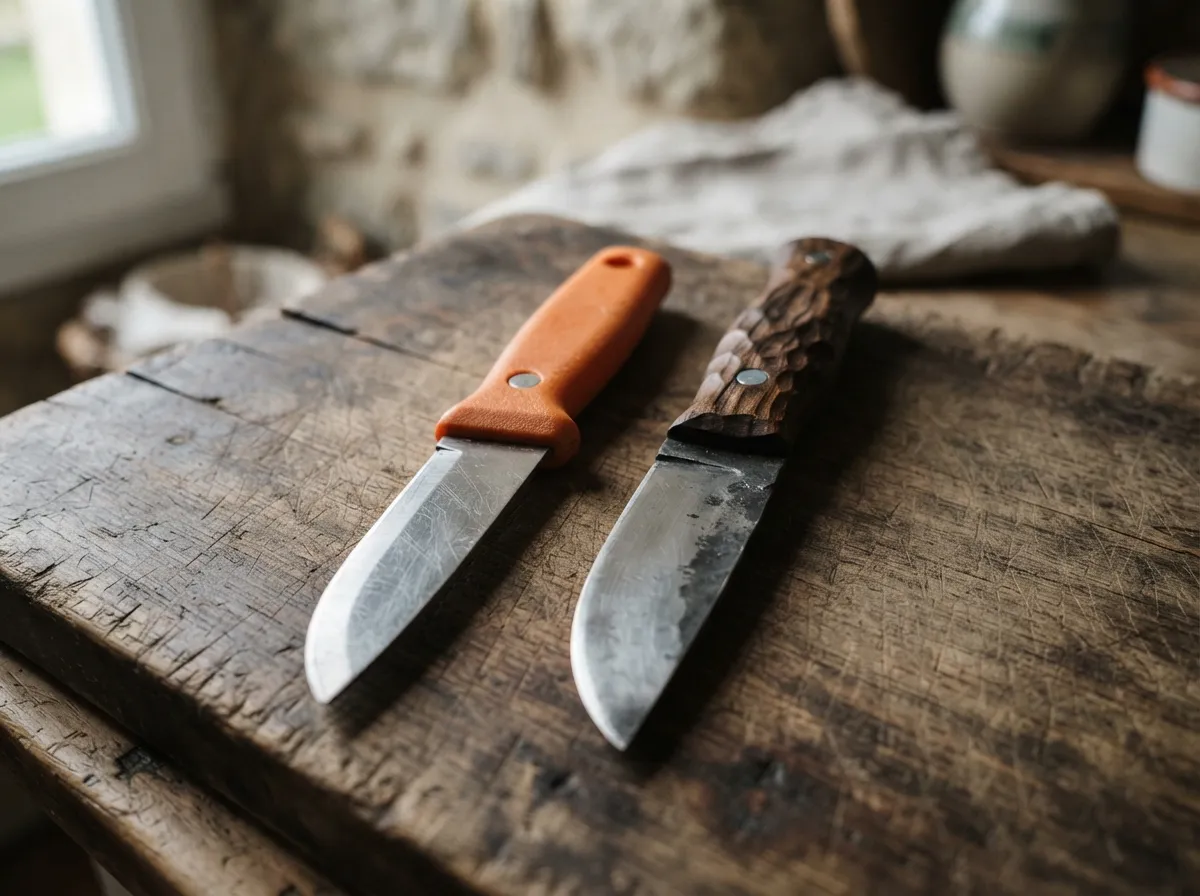
Finally, budget matters far less than most think. The Mora Companion, costing around 15 euros, is one of the top-selling outdoor knives in the world, and not by accident: it has been a daily workhorse for the Swedish military and Scandinavian industry for decades. On the flip side, a custom handmade knife for 300 or 400 euros can be worth every cent—custom geometry, premium steel, heirloom finishing—but it won’t cut through the same piece of wood any better on any given day. Instructors at Frontier Bushcraft, who have put Mora Companion HDs through hard batoning with beginners for years, report never having seen one break under heavy field use. The wilderness doesn’t care about price tags: money buys comfort and longevity, not skill the steel doesn’t possess.
| Fine carving | General bushcraft | Batoning / heavy work | Skinnning / camp kitchen | |
|---|---|---|---|---|
| Blade length | 6-9 cm | 9-12 cm | 10-15 cm | 7-10 cm |
| Thickness | 2-3 mm | 3-4 mm | 4 mm or more | 2-3 mm |
| Bevel grind | Scandi | Scandi or flat | Flat or convex | Thin flat |
| Tang | Hidden or 3/4 | Full tang preferred | Full tang mandatory | Hidden, doesn't matter |
| Reference budget | €20-60 | €15-80 | €40-150 | €15-50 |
Blade anatomy: what actually matters
Three technical specs govern almost everything: grind geometry, steel type, and tang construction.
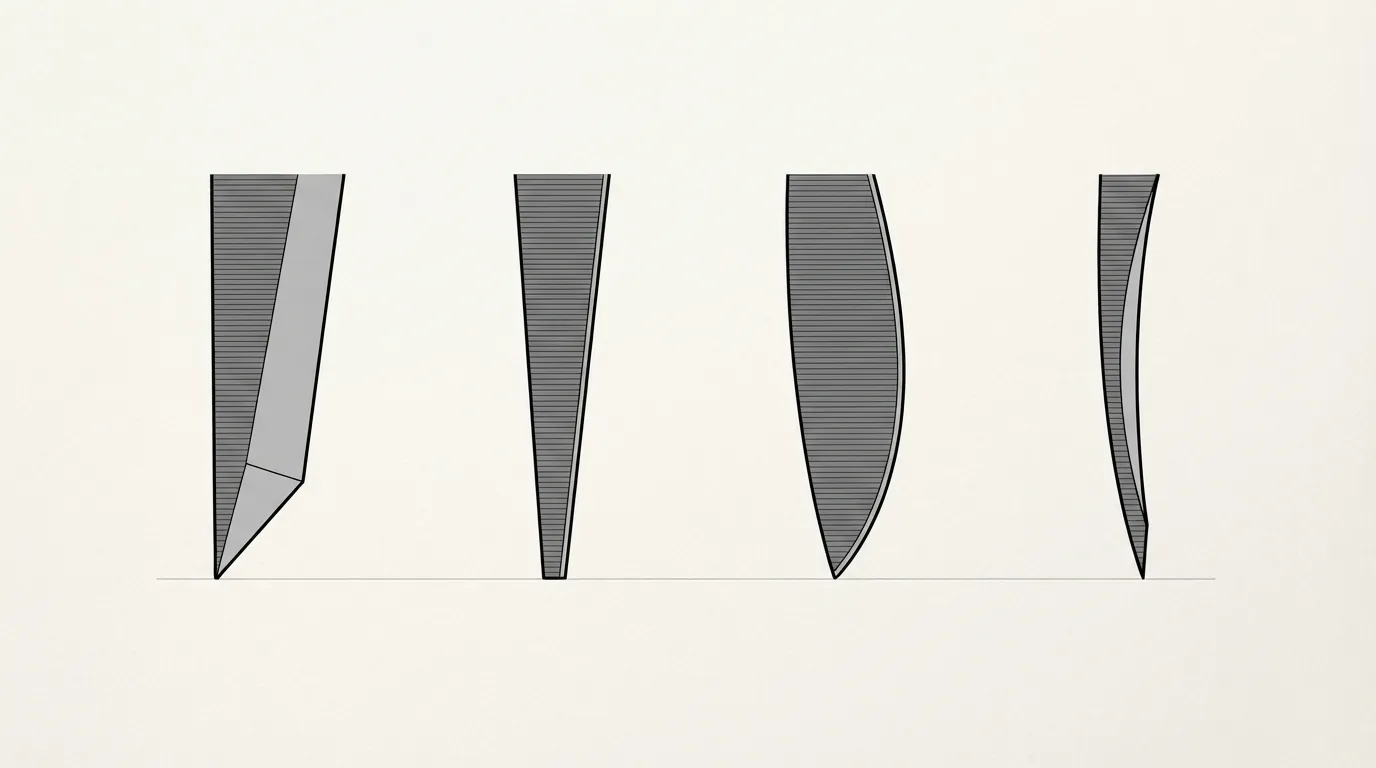
The grind is the shape of the blade’s cross-section, and it dictates how the knife behaves. The Scandi grind starts low and runs straight to the cutting edge without a secondary bevel: laid flat against wood, it naturally guides your cut, making it superb for carving feather sticks, notches, or spoons, while remaining easy to sharpen on a flat stone—though it handles twisting forces poorly. The full flat grind starts higher up, often from the spine itself: more versatile, it slices smoothly, but requires removing more steel across the face when sharpening by hand. The convex grind features continuous curves down to the edge without hard angles, distributing stress and creating a highly shock-resistant edge—the classic geometry of axes and many khukuris—though without a flat reference plane, freehand sharpening takes practice. Finally, the hollow grind (concave) produces the sharpest out-of-the-box edge at the expense of structural durability: common on kitchen and pocket folding knives, virtually never ideal for bushcraft.
Steel selection balances ease of sharpening against rust resistance. The Mora Companion comes in high carbon (Swedish UHB-20C) and stainless (12C27); high-end options laminate a hard carbon core (up to 61 HRC) between two layers of softer steel—the hard core holds an edge while the outer jackets absorb shocks without snapping. Carbon takes a razor-sharp edge quickly, but rusts rapidly if left damp without oil; stainless resists corrosion far better—essential near saltwater—at the cost of taking slightly longer to resharpen to the same keenness.
The tang is the portion of the steel extending into the handle. A full tang runs the entire length and width of the handle, visible around the scales: this design absorbs heavy batoning or prying without snapping the handle off. A hidden tang (rat-tail) tapers down into a narrow rod epoxied or riveted inside the handle: lighter in weight, it is more than strong enough for cutting, slicing, and carving—everything short of heavy hammering or prying.
Safe knife handling mechanics
Even the most carefully chosen knife will cut you if it slips. Three habits prevent the vast majority of injuries.
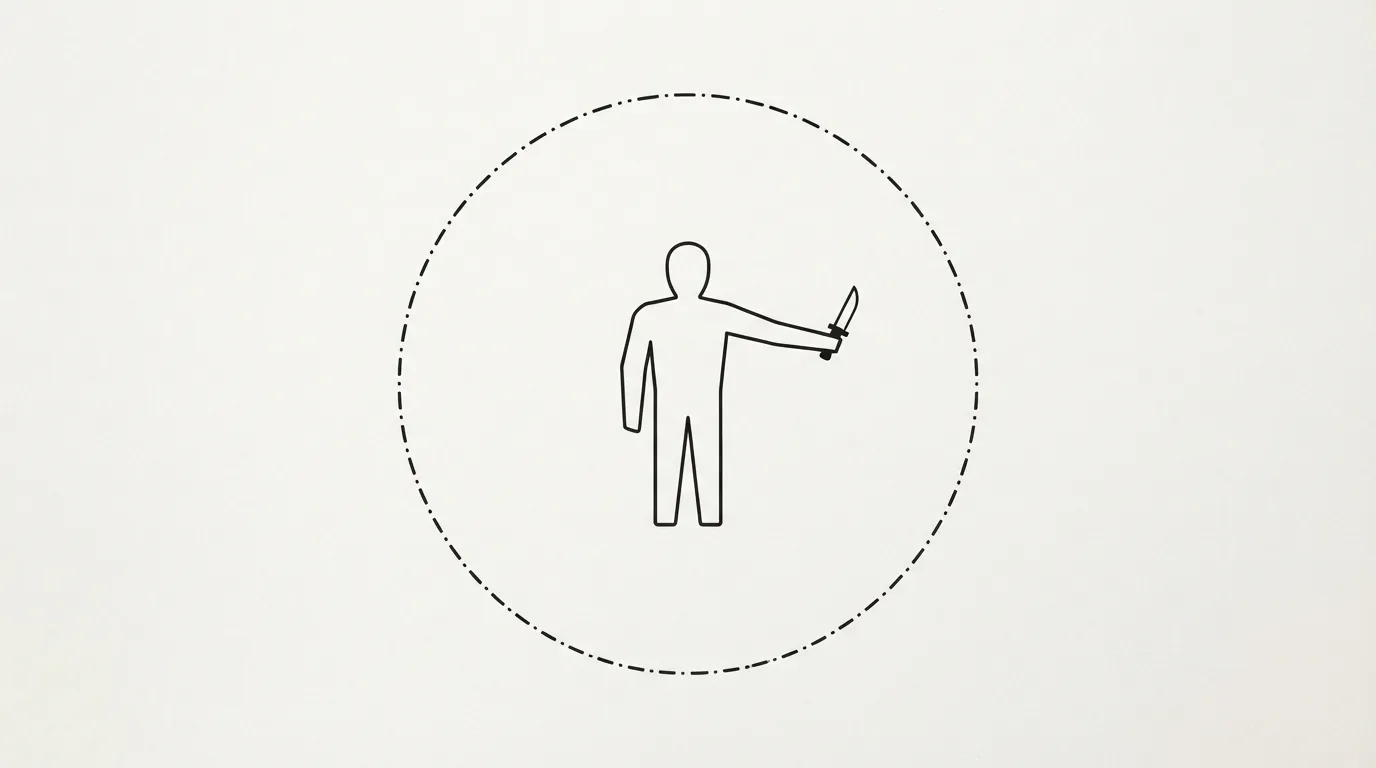
The safety triangle—or blood circle. Before making your first cut, extend your arm, knife in hand, and rotate 360 degrees. The entire sweep of your arm defines your hazard zone: nothing and no one should be inside it—no feet, no dogs, no partner reaching out to hand you something. This is one of the core safety habits taught in North American scout woodcraft programs before touching a knife, axe, or saw—mapping out the range of motion where an accident could occur before slicing a single wood chip.
Cut away from yourself. The fundamental rule in every woodcraft manual: the edge must always finish its swing moving away from your body, never toward it. A slip while cutting away results in a missed slice; a slip while pulling inward results in a severed tendon. There is one notable exception—the crooked knife used by Indigenous peoples of the eastern woodlands, originally made with a beaver incisor, which is pulled deliberately toward the user like a small drawknife. However, its users have generations of built-in muscle memory; unless you’ve trained specifically with one, cutting away remains the universal rule.
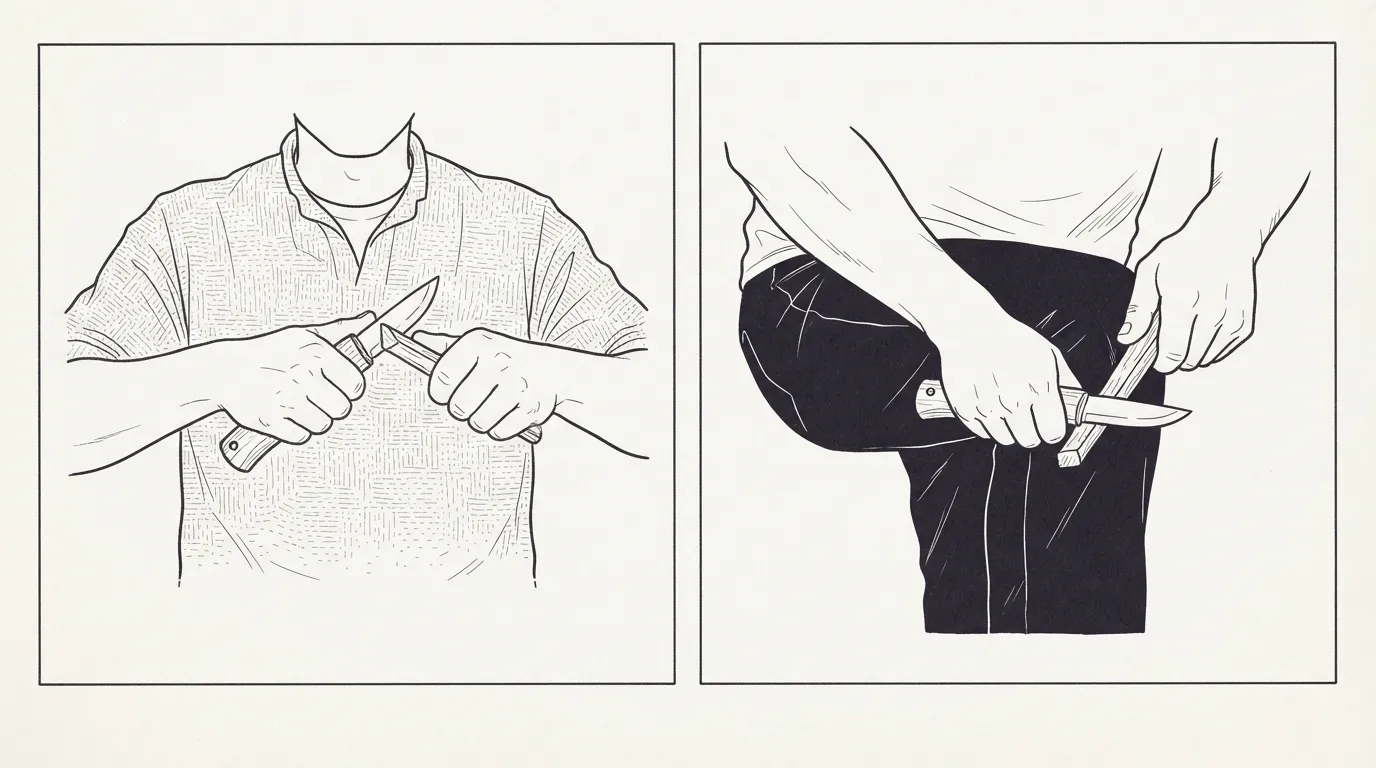
Two grips that protect your hands. The chest lever grip: both hands hold the knife close to your sternum, with the off-hand reinforcing or guiding the spine, while your upper back muscles drive the cut by rotating your torso slightly rather than pushing your arm out into open air—ideal for powerful, controlled shaving and clean notch-making. The knee/lap lever grip: rest the wood securely against your thigh or knee, placing a thick slab of wood or heavy clothing as a barrier between your skin and the blade’s potential path, then push or pull while bracing your forearm against your leg to gain leverage without losing control. Mors Kochanski, a foundational figure in modern survival education, formalized these grips in his book Bushcraft; today they form the core of most wilderness skills safety curricula.
Batoning: how far to push a blade
Batoning means driving a knife through a log by striking its spine with a thick wooden club—the exact same principle behind a carpenter’s froe, the L-shaped tool driven into timber and twisted to split shingles cleanly without swinging an axe. Batoning solves three problems: producing kindling without an axe, reaching dry inner heartwood inside rain-soaked logs, and splitting wood with precision where an axe would be too clumsy or heavy to carry.
The danger is real: striking the blade’s spine off-angle rather than square is the single leading cause of broken knives. Snapping a blade mid-log leaves it stuck tight—an inconvenience on a day hike, but a critical emergency in a survival situation where it’s your only tool. Hence the ongoing forum debate: does batoning inherently ruin knives? It depends far more on technique than steel thickness. A full-tang knife with a 4 mm spine will easily take the abuse, but even thinner knives survive if every strike lands directly inline with the spine, never at an angle.
- Select a knot-free piece of deadwood and stand it vertically on a solid, level surface.
- Set the blade edge across the wood grain, positioning the tip extending past the log’s edge.
- Strike the middle of the blade spine square with a heavy wooden baton—never hit at an angle.
- Drive the blade down with straight, vertical taps until the tip emerges completely through the side.
- Pry gently using the handle to finish opening the split rather than hammering the knife all the way down.
Carving: five basic notches, a spoon, and a whistle
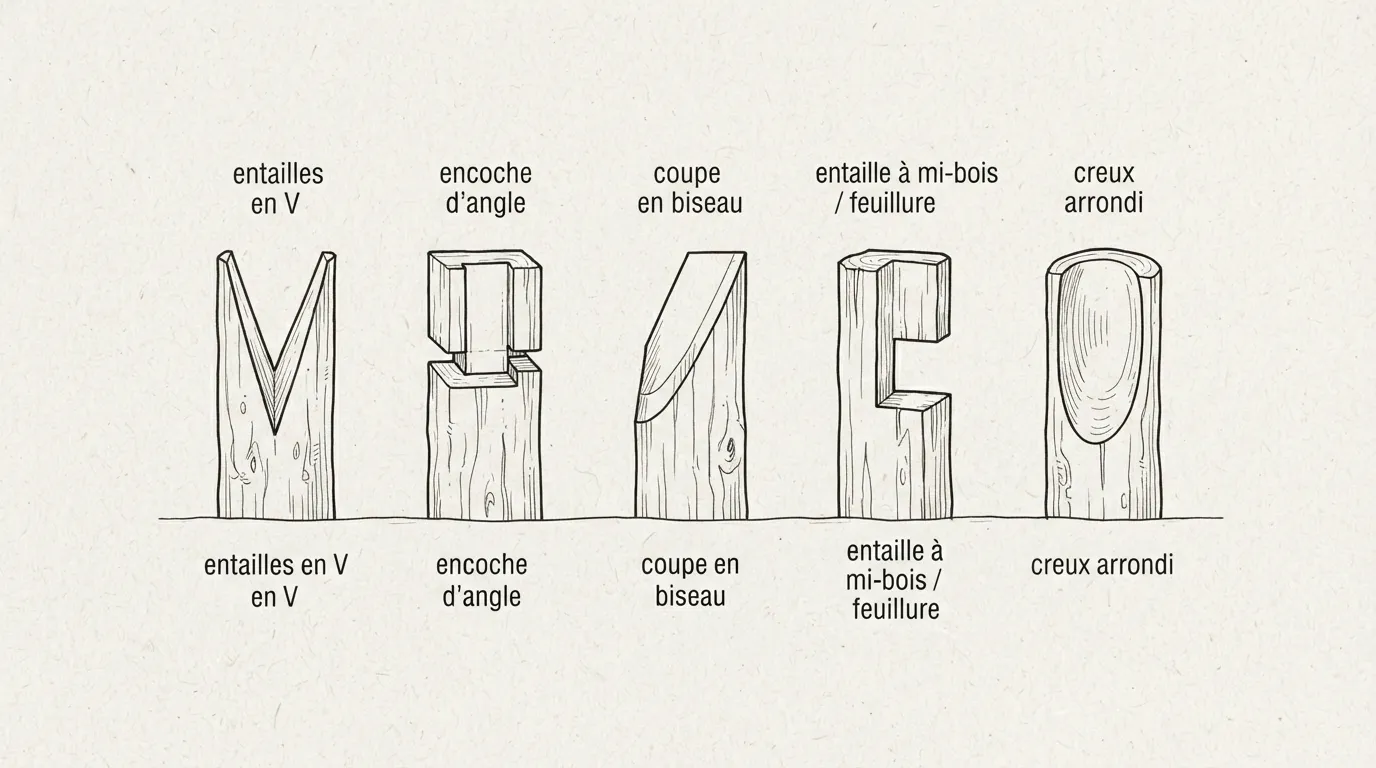
Beyond shaving feather sticks for fire lighting—covered in detail in our Fire module—five fundamental notches form the foundation of almost all bushcraft construction, from traps and shelters to camp utensils.
- The V-notch: two angled cuts meeting at the bottom, used to join sticks at right angles or start a rope lashing line.
- The 7-notch (beaver notch): a straight vertical stop-cut intersected by a flat horizontal slice, creating a sharp square hook—the cornerstone of trigger mechanisms and adjustable pot hangers.
- The point: removing material evenly around the end of a stick while rotating it, creating stakes, roasting spits, or spindles.
- The bevel (flat drop): a single long, smooth angled face that allows a stake to bite into ground or slide under a lashing without splitting.
- The whistle: a ring cut through the bark down to the wood on a sap-filled spring willow or hazel branch; the bark sleeve is then slipped off intact, notched, and reassembled to create a working whistle.
Roughing out a spoon combines these techniques in sequence: start with a split branch, mark your outline, rough out the handle and outer profile using the chest lever grip, then use the knee lever grip to shape the back of the bowl. Hollowout out the inner bowl is difficult with a straight blade—which is precisely why native woodworkers developed the curved crook knife, allowing you to scoop material toward yourself along an arc rather than forcing a straight edge into a cavity. Lacking a spoon knife, take short, controlled stop-cuts with a short blade, always working with the grain to avoid tearing out chunks of wood.
- Split a piece of straight-grained green hardwood (birch, willow, lime) down its center.
- Scribe the outline into the flat face: handle, neck, and a slightly wider bowl head.
- Rough out the outer handle and bowl back using wide chest-lever cuts.
- Hollow the inner bowl using light, cross-grain stop cuts, scraping rather than gouging if the wood resists.
- Finish with light slicing passes running with the grain to leave a clean surface without tear-out.
Sharpening: the angle makes the edge
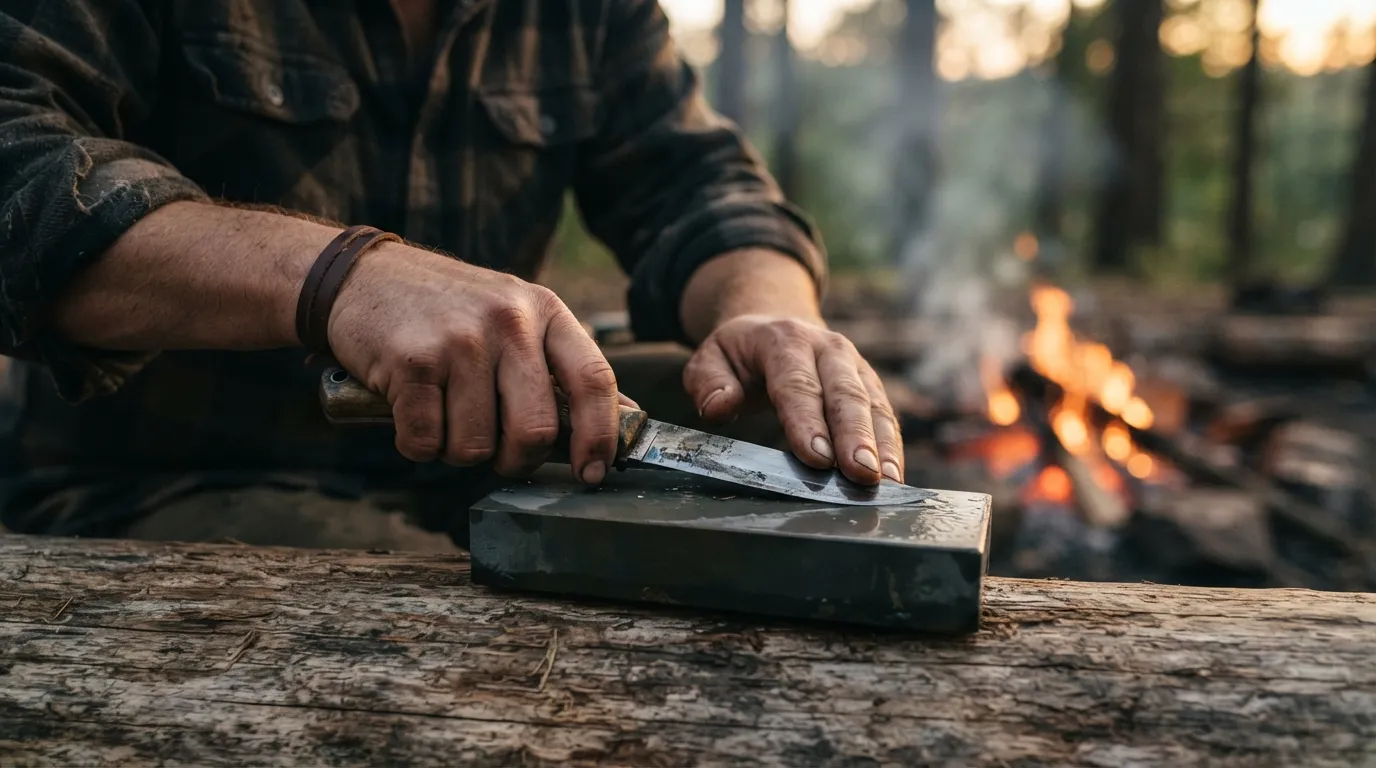
An edge is simply two planes meeting at an angle. Set it too wide, and the blade slides off fibers without biting; set it too narrow, and it bites deep only to chip on the first hard knot. Western kitchen knives run around 20 to 22 degrees per side; delicate Japanese cutlery drops to 15-18 degrees for extreme slicing power; while heavy-duty tools meant for high impact—axes and batoning blades—widen out to 25 degrees or more. The ideal bushcraft balance sits right in the middle: 20 to 25 degrees per side gives a clean-cutting edge that can survive hard woodcraft without chipping.
When using a sharpening stone, maintain this angle consistently across the stroke, moving from coarse grit (to re-establish damaged geometry) to fine grit (to polish), until you feel a fine wire edge—a burr—fold over along the entire length before flipping the blade. A leather strop finishes the process: it removes almost no metal, working instead by realigning microscopic edge roll and polishing the steel through friction, especially when charged with fine abrasive paste (chromium oxide or aluminum oxide). Always stroke the blade spine-first away from the edge on leather so you don’t slice into the strop.
In the field, three emergency backups work well, verified across bushcraft testing channels: a smooth, hard river stone; the unglazed ceramic ring on the bottom of a coffee mug or plate; and the top edge of a rolled-down car window—tempered glass is harder than most knife steels and acts as an effective fine sharpening rod when used carefully.
The axe: splitting without injury
A hatchet is designed for single-handed use, suited for pack carry around camp: limbing branches, roughing out timber, splitting small kindling. A full-sized forest axe requires a two-handed grip and falls into two main head designs: felling axes, built with thin, narrow bits to slice across wood fibers, and splitting axes or mauls, featuring wider, wedge-shaped cheeks to burst logs apart along the grain without getting stuck.
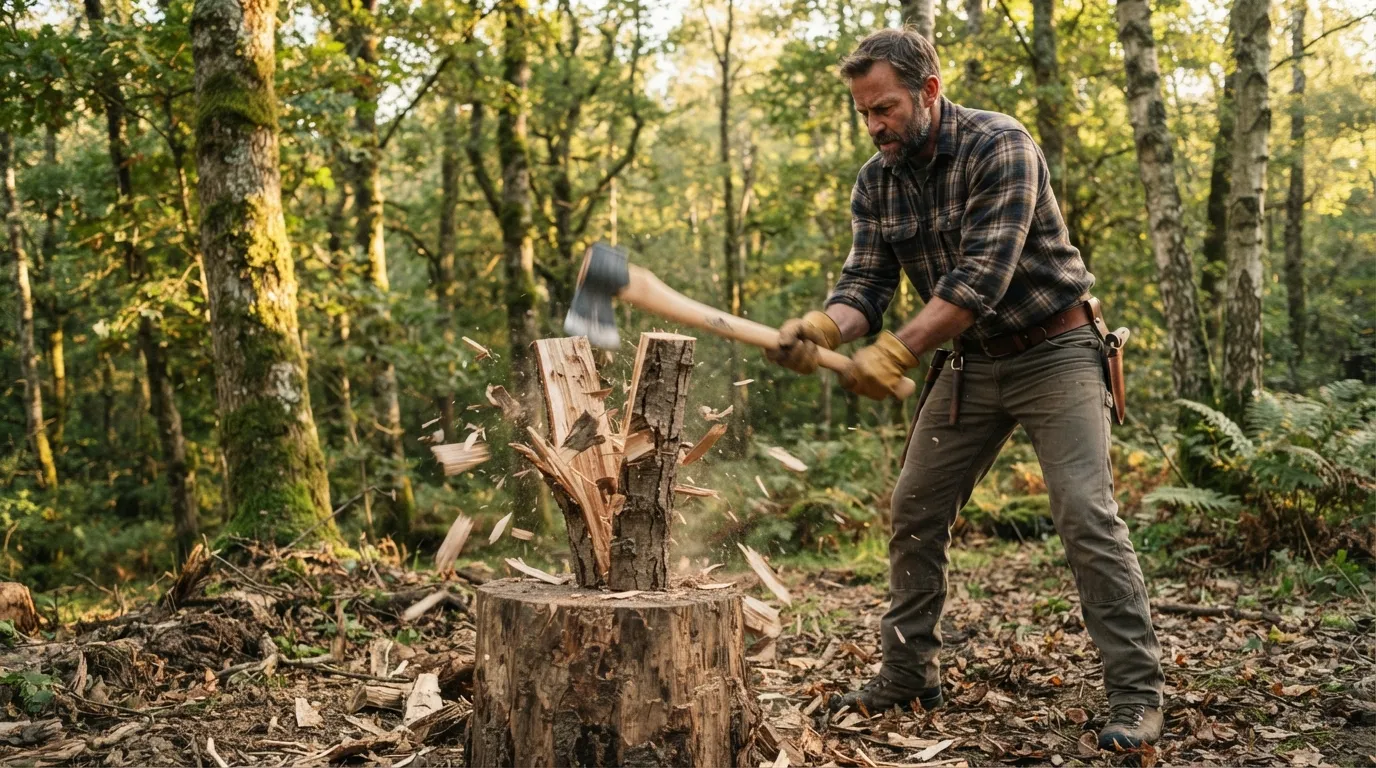
Splitting wood safely always starts with a chopping block: a short, wide log set flat at knee height on solid ground that won’t absorb your strike. Place the log you want to split as far back on the chopping block as possible, never close to your body or directly aligned with your feet. If your swing misses or glides off a tough knot, the axe head buries itself safely into the block instead of your leg. Hold the handle near the end with arms extended at impact, adjusting your distance using your stance rather than pulling your hands back mid-swing; the handle should sit completely horizontal the moment it strikes the wood. If the axe gets stuck in a log, never twist it sideways: lift the axe and log together, flip them over, and bring the poll (butt) of the axe down onto the block. Never use a standard axe head as a sledgehammer or metal wedge—it deforms the eye; stick to wooden wedges or dedicated mauls when dealing with stubborn rounds.
Axe maintenance comes down to basic routines: store the head dry, oil or grease the bare steel before long storage, apply boiled linseed oil to the wooden handle once a year, routinely check that the head is wedged tight without play, and avoid hard metal-on-metal strikes that crack the steel eye. Leather sheaths need regular oil or wax treatments to stay supple and water-resistant.
Saws: the quiet, efficient alternative
A folding saw (brands like Silky or Bahco set the industry standard) cuts cross-grain green wood faster, cleaner, and with less energy than an axe—without the risk of a glancing blow or dangerous deflection. This makes it an ideal wood-processing tool while developing axe skills. A folding saw closes into its own handle, concealing the blade safely in your pack without needing a separate sheath. A bucksaw (bow saw), featuring a lightweight collapsible frame and replaceable blades, easily handles larger log diameters that clog folding saws. An axe retains its advantage for splitting logs along the grain, driving wedges, and rapidly felling timber—tasks no pocket saw can match for speed.
There is also a traditional European tool that occupies the middle ground: the billhook (serpe). Featuring an inward-curving hooked blade, its edge stays protected from dirt when clearing brush near the ground. Used for centuries across European forestry and hedge-laying, it combines the clearing power of a heavy knife with the chopping force of a small hatchet—ideal for processing thick brush, saplings, and green wood.
Common injuries and field first aid
Two specific scenarios cause the majority of camp knife wounds: pushing a blade toward a hand holding a stick, and losing control during a lap-cut, driving the edge into an exposed thigh.
When treating a cut in the field, focus on these core steps: apply firm, direct pressure to the wound using a clean pad, clean out dirt with clean water if it’s a minor cut, pull the edges together with butterfly bandages or steri-strips rather than leaving it open, and elevate the limb above the heart. Stop field treatment and seek medical care immediately if you observe any of these three warning signs: heavy bleeding that doesn’t slow down after several minutes of direct pressure, loss of feeling or movement near the cut (indicating possible tendon or nerve damage), or a deep wound where tissue below the skin layer is visible.
Knife laws: France, the UK, and Canada
Carrying the exact same knife in your pack can be completely legal or a criminal offense depending on local legislation, context, and intent.
In France, virtually all fixed blades and locking folding knives fall under Category D weapons. They are legal to purchase for adults, but carrying one in public requires a “legitimate reason” (such as active outdoor recreation, hunting, or work—never general self-defense). When transporting a knife in a vehicle, it must be stored in a closed, locked case inaccessible to occupants.
In the United Kingdom, knife laws are among the strictest in Europe: only non-locking folding knives with a blade under 3 inches (7.6 cm) can be carried without a specific justification. A locking pocket knife—regardless of size—is classified legally as a fixed blade and requires a proven “good reason” (such as work requirements or religious attire like a Sikh Kirpan). A car parked on a public road is legally considered a public place.
In Canada, the Criminal Code bans knives designed to open automatically via gravity, centrifugal force, or button pressure (flick knives, switchblades)—blade length itself is not restricted at the federal level. Standard manual folding and fixed-blade knives are legal to carry, but carrying any knife with intent to endanger public peace is a serious criminal offense.
| France | United Kingdom | Canada | |
|---|---|---|---|
| Blade length limits | No specific length limit | 7.6 cm (3 in) limit for non-locking pocket knives | No federal length limit |
| Locking folding blades | Requires legitimate reason | Treated as fixed blade (requires good reason) | Legal (unless auto-opening) |
| Reason required to carry | Yes, valid outdoor/work reason | Yes, strict legal justification required | No, unless intent is dangerous |
| Vehicle transport rules | Closed case, out of reach | Classified as a public place | No specific extra rule |
| Max penalty for violation | 1-2 years prison, €15k-30k fine | Up to 4 years prison | Up to 5 years prison |
Improvised cutting tools
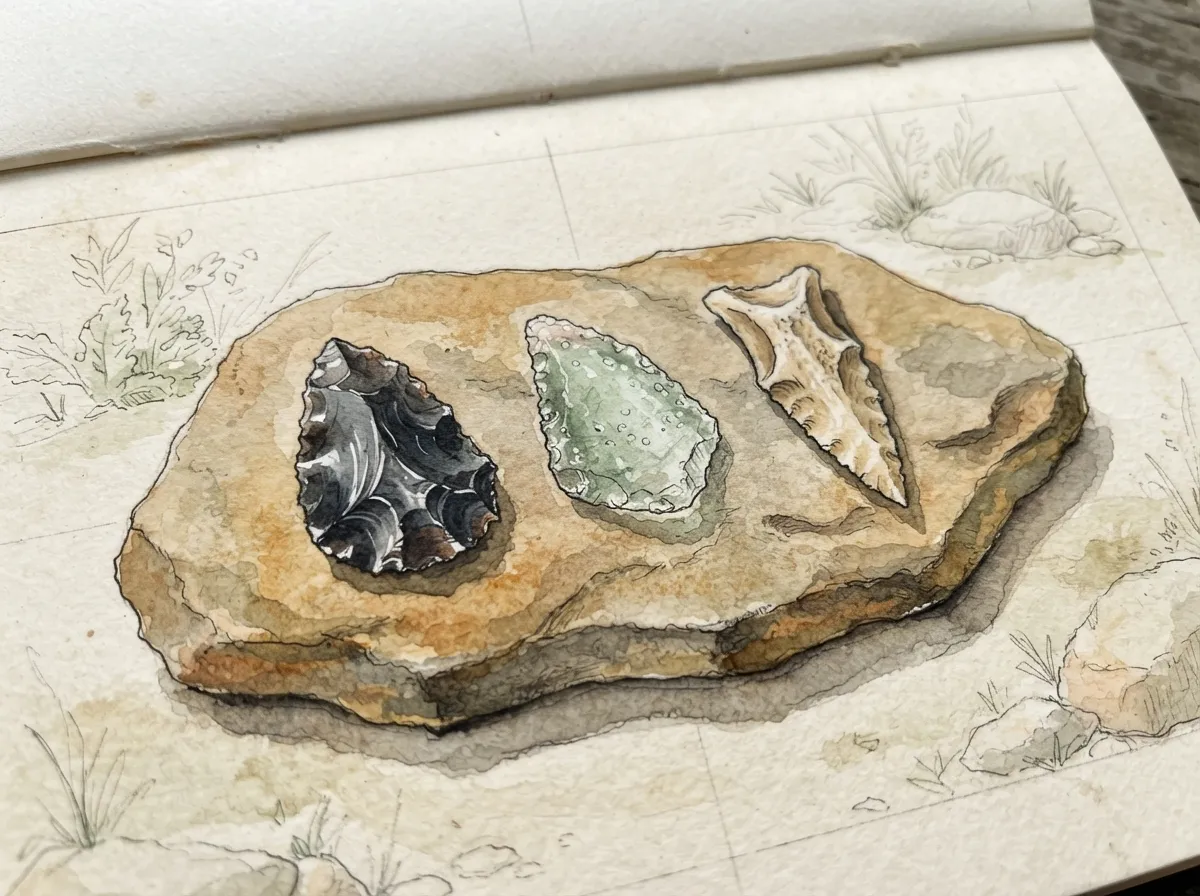
If you find yourself without steel, nature provides functional alternatives. Flint knapping shapes siliceous stone through controlled impacts—using a hard quartzite hammerstone for rough shaping, followed by an antler tine for pressure flaking, yielding glass-sharp flakes instantly. Obsidian, a natural volcanic glass, takes this to the extreme: its flaked edge measures roughly 3 nanometers thick—far sharper than a steel surgical scalpel, appearing smooth even under an electron microscope. While too brittle for general utility work, obsidian blades have been tested in specialized surgical procedures. Thick bottle glass fractures with the same conchoidal pattern: a carefully struck glass flake easily slices cordage and processing materials.
An opened metal tin yields two surprisingly sharp edges; folded lengthwise with a cloth-wrapped handle, it works as a functional scraper or skinning tool. Additionally, bone ground against a wet sandstone slab has been used across ancient cultures to manufacture skinning knives, awls, and needles—proving that solid cutting technique matters just as much as tool material.
Dave Canterbury’s 10 Cs of Survivability
In Bushcraft 101 (2014), survival instructor Dave Canterbury popularized a gear framework built around tool priorities. The core foundation relies on the 5 Cs: a Cutting tool, a Combustion device, a Cover system, a Container for boiling water, and Cordage. Canterbury expands this list to 10 with items that simplify field tasks: a compass, duct tape, cotton material (a bandana for tinder, filtering, or bandages), a candle, and a sail needle for gear repair. The underlying logic remains identical: every item on the list replaces a complex task you would otherwise have to improvise using your knife alone.
Maintenance: oil, rust, and leather
High-carbon steel left damp will form surface rust within hours. Applying a light film of oil—even mineral or cooking oil in a pinch—protects the steel after every use. Over time, carbon steel develops a dark grey or blue patina: this stable oxidation layer actually protects the underlying metal from active rust. Many bushcrafters intentionally force a patina using vinegar or lemon juice. Leather sheaths need similar care using natural leather wax to stay supple and water-repellent. Always dry leather sheaths away from direct fires; excessive heat shrinks leather and can draw temper out of a sheath-stored blade.
Frequently asked questions
What is the best knife for a bushcraft beginner?
There is no single perfect knife, but the ideal starter benchmark is a fixed-blade knife with a 9 to 12 cm blade length, 3 to 4 mm spine thickness, and a Scandi grind, costing between €15 and €80. A Mora Companion HD meets all these criteria and is used by countless survival schools as the standard training tool.
Is a full-tang knife strictly mandatory for bushcraft?
No. Full-tang construction is only essential if you intend to heavy-baton or leverage logs with your blade. Traditional Scandinavian puukkos feature hidden tangs and have handled daily forest tasks for centuries—because heavy splitting was always left to an axe.
Can you baton wood with any knife?
Technically yes, but thin blades or narrow hidden tangs are far more vulnerable to breaking if hit off-center. The main cause of blade failure during batoning isn’t the wood—it’s striking the spine at an angle rather than square on.
What angle should I use to sharpen a bushcraft knife?
An angle of 20 to 25 degrees per side offers the best balance between edge keenness and durability on hardwood. Kitchen knives are ground thinner (15-20 degrees), whereas heavy axes use wider angles (25+ degrees).
Is it legal to carry a bushcraft knife while hiking?
In most jurisdictions, yes—provided you have a legitimate reason, such as active camping, bushcraft, or outdoor work. However, always check local laws: in places like the UK, locking blades are restricted, and in France, tools must be safely packed away out of easy reach during transport.
Should I buy a hatchet or a folding saw first?
A folding saw is the better choice for most beginners: it cuts branches safely and efficiently with minimal energy and zero risk of dangerous axe deflections. An axe excels at splitting wood along the grain, but requires good technique to handle safely.
Key takeaways
- Choose a knife based on hand size and specific tasks, not price: a €15 Mora out-performs an ill-suited €400 custom knife.
- Scandi grinds excel at carving, flat grinds at slicing, and convex grinds at heavy impact—match geometry to your primary task.
- Establish your safety circle, cut away from your body, and use chest-lever or protected knee grips to prevent injuries.
- Batoning breaks blades through twisting strikes, not wood hardness; axe injuries occur from poor stance and low chopping blocks, not lack of arm strength.
- Knife legal status depends heavily on context, carry method, and local regulations—know the laws wherever you travel.
Going further
- Mors Kochanski, Bushcraft: Outdoor Skills and Wilderness Survival (1988) — the definitive guide to lever grips and wilderness carving safety.
- Dave Canterbury, Bushcraft 101 (Adams Media, 2014) — the source of the 5 and 10 Cs gear framework.
- Frontier Bushcraft — Best Beginner Bushcraft Knife — a practical guide to selecting your first bushcraft blade.
- Gränsfors Bruk — Axe Book (yxguiden) — classic safety, splitting technique, and tool care from Sweden’s master smiths.
Sources for this module (26)
- Wikipedia — Batoning
- Wikipedia — Knife sharpening
- Wikipedia — Mora knife
- Wikipedia — Puukko
- Wikipedia — Ulu
- Wikipedia — Crooked knife
- Wikipedia — Obsidian
- Wikipedia — Bone tool
- Wikipedia — Flint knapping
- Wikipedia — Splitting maul
- Wikipedia — Axe
- Wikipedia — Froe
- Wikipedia — Bucksaw
- Wikipedia — Totin' Chip
- Wikipedia — Knife legislation
- Wikipedia — Whittling
- Wikipedia — Strop
- Wikipedia — Opinel knife
- Wikipedia — Khukuri
- Wikipedia — Billhook
- Frontier Bushcraft — Best Beginner Bushcraft Knife
- Gränsfors Bruk — Vedklyvning (fendre le bois)
- Gränsfors Bruk — Entretien de la hache et du cuir
- Johnson et al., Pumpkin carving knife injuries, Am J Emerg Med (2022)
- Dave Canterbury, Bushcraft 101 (Adams Media, 2014)
- Mors Kochanski, Bushcraft: Outdoor Skills and Wilderness Survival (1988)
Continue in "Cross-cutting skills"
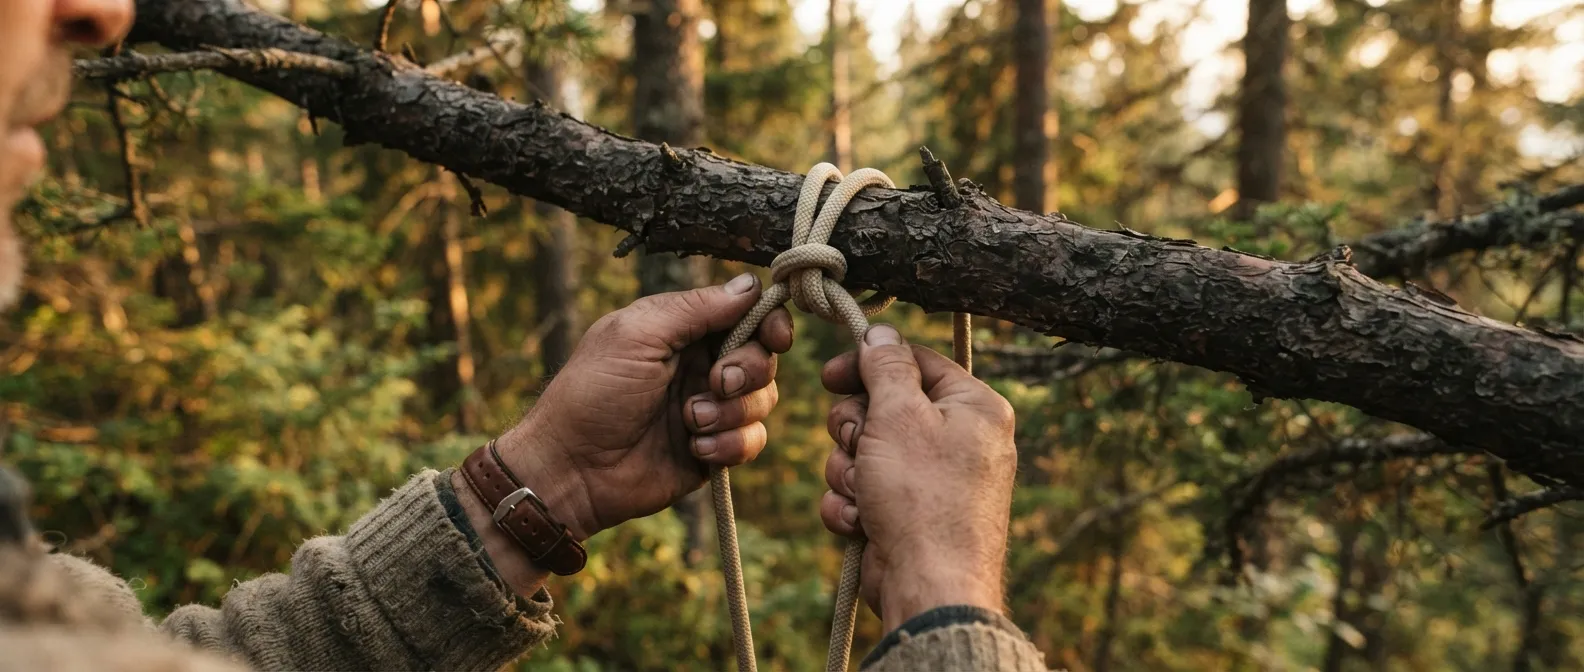
Knots and Cordage: The 10 That Actually Matter
3,857 knots listed in the reference book, and ten that are enough to pitch a shelter, scale a cliff, or save a life.
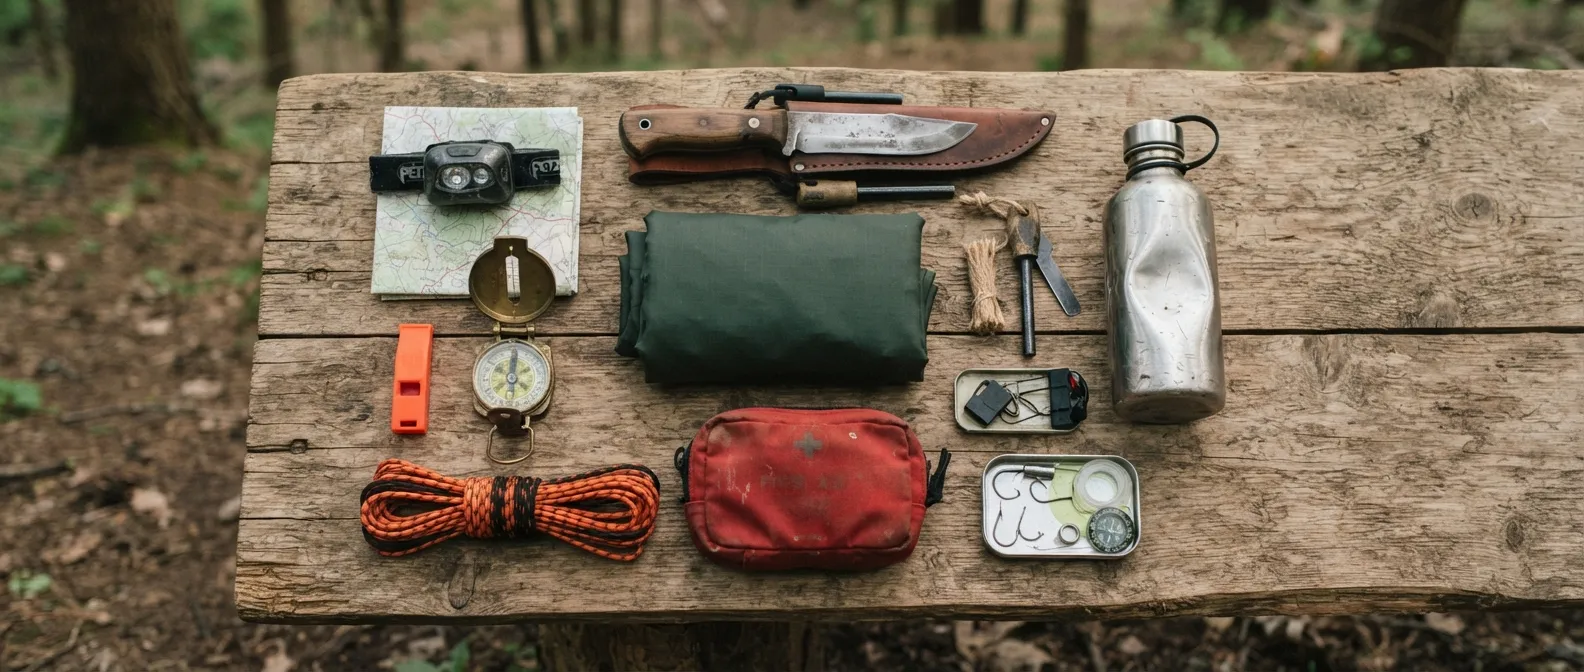
The Kit: What Should Be in Your Pockets, Backpack, and Car
What you carry on you saves you when you lose your pack: the kit hierarchy and essential checklists you shouldn't improvise.

Reading the sky: predicting the weather without a phone
Cirrus clouds, halos, shifting breezes, an altimeter watch that 'climbs' while you stand still: your phone has no service, but the sky is still broadcasting.