Crevasses and glaciers: walking on a trap
A glacier can carry you a thousand times and betray you on the thousand-and-first: how to read it, how to rope up, how to get out — and what you almost can't do without.
It’s 6:40 AM, the sun is barely hitting the peaks, and the snow crunches under your crampons like powdered sugar. Three hours later, on the way back, that exact same snow gives way under your feet at every step. It’s the same slope, the same glacier, the same rope team — but it’s no longer the same terrain at all. A glacier never lies twice in the same way: it lies according to the time of day.
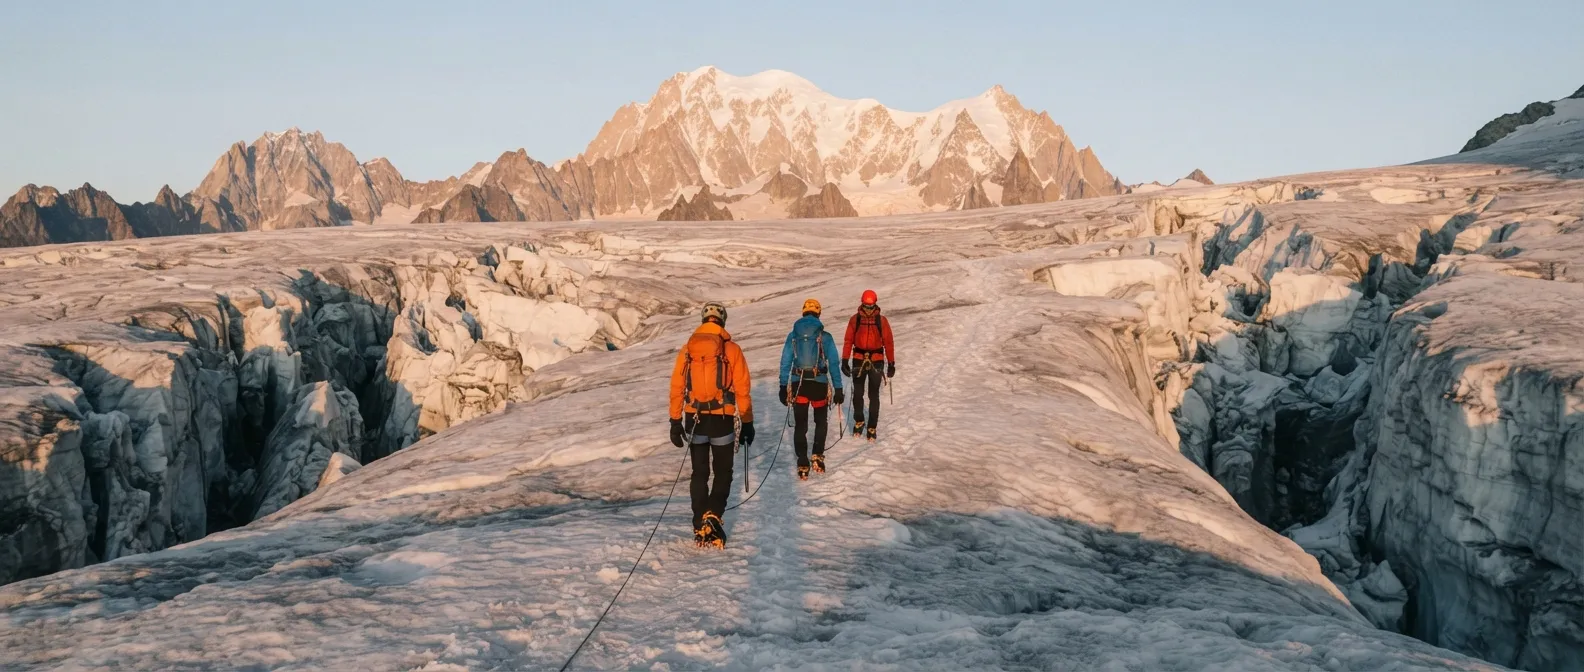
Reading a glacier before stepping on it
A glacier isn’t frozen, static ground: it’s a flowing mass, moving slowly, cracking wherever it’s forced to change shape. Three places almost systematically produce crevasses, and spotting them before moving forward changes everything.
- Convex slope breaks: where the glacier transitions from a gentle slope to a steep incline, the surface ice stretches and breaks — creating transverse crevasses, perpendicular to your direction of travel. These are usually the most numerous and predictable.
- The edges, along rock walls: the center of the glacier flows faster than the edges, which are slowed down by friction against the rock. This difference in speed creates diagonal crevasses, spreading like a fan near the margins — a classic trap for anyone walking close to the wall thinking they’re staying away from central danger.
- Seracs, in break zones: when the slope gets too steep, the glacier fractures in every direction at once, cutting itself into unstable ice towers called seracs. These are the most dangerous zones on the entire route; pass through them quickly, never stop there for lunch.
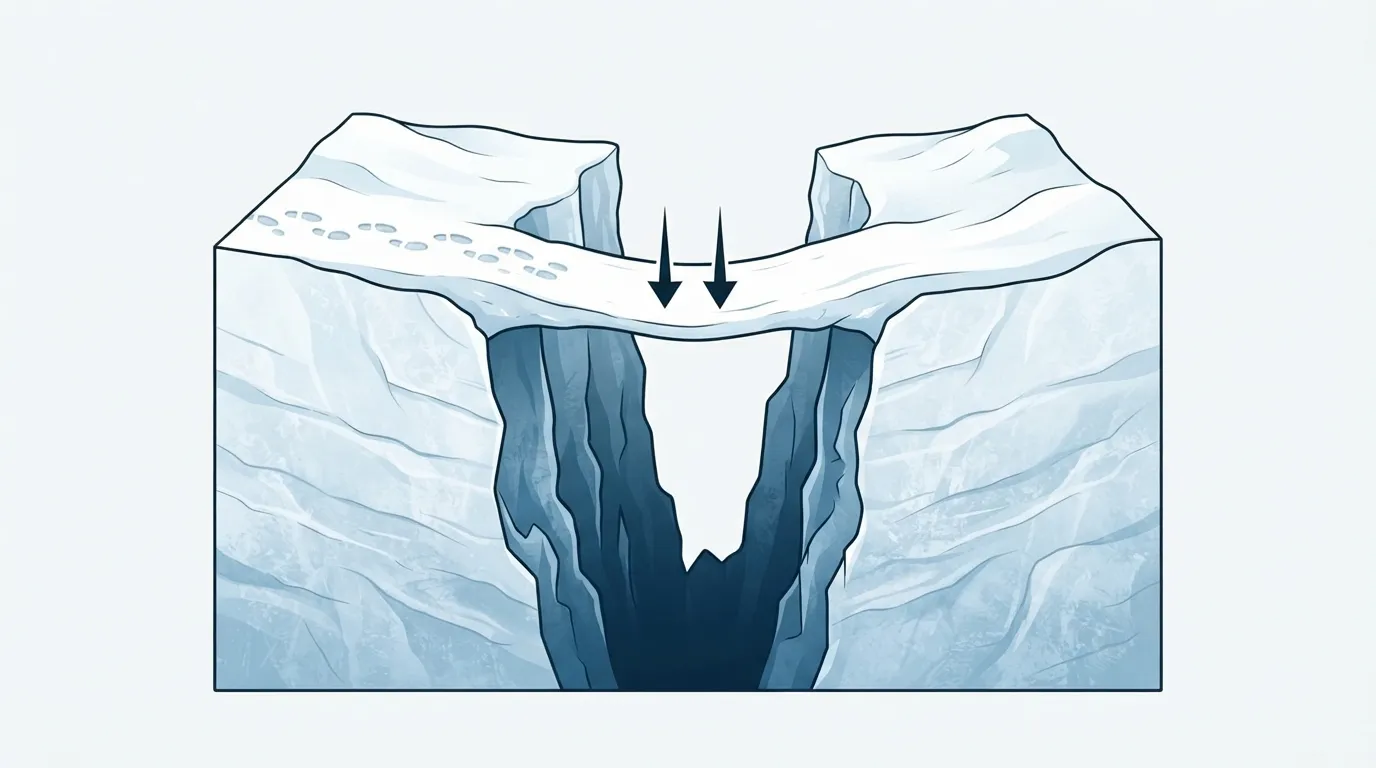
An open crevasse is easy to see and avoid: it’s only dangerous if you fail to notice it. The real trap is a crevasse hidden by a snow bridge — a layer blown by the wind that seals the surface opening without filling the void beneath. A trained eye looks for a subtle linear depression in the snowpack, a slight change in texture or reflection under low morning or evening light, or a barely noticeable color shift. Always walk perpendicular to the likely lines of crevasses, never parallel, to minimize time spent above empty space.
Roping up: the only insurance policy that works
On a glacier, a rope isn’t an optional safety measure: it’s the single piece of gear that turns a crevasse fall from a fatal accident into a manageable incident. Without it, there’s nothing between your foot breaking through a snow bridge and a complete fall into the abyss.
For a two-person team, the standard reference distance is about 15 to 18 meters between both individuals, with 3 to 4 brake knots (figure-eights or clove hitches) tied in the middle third of the rope. The first and last knots are placed 5–6 meters from each climber, with intermediate knots spaced at least 2 meters apart. The more people on the rope team, the shorter the individual intervals can be, because the falling weight is distributed across more human anchors.
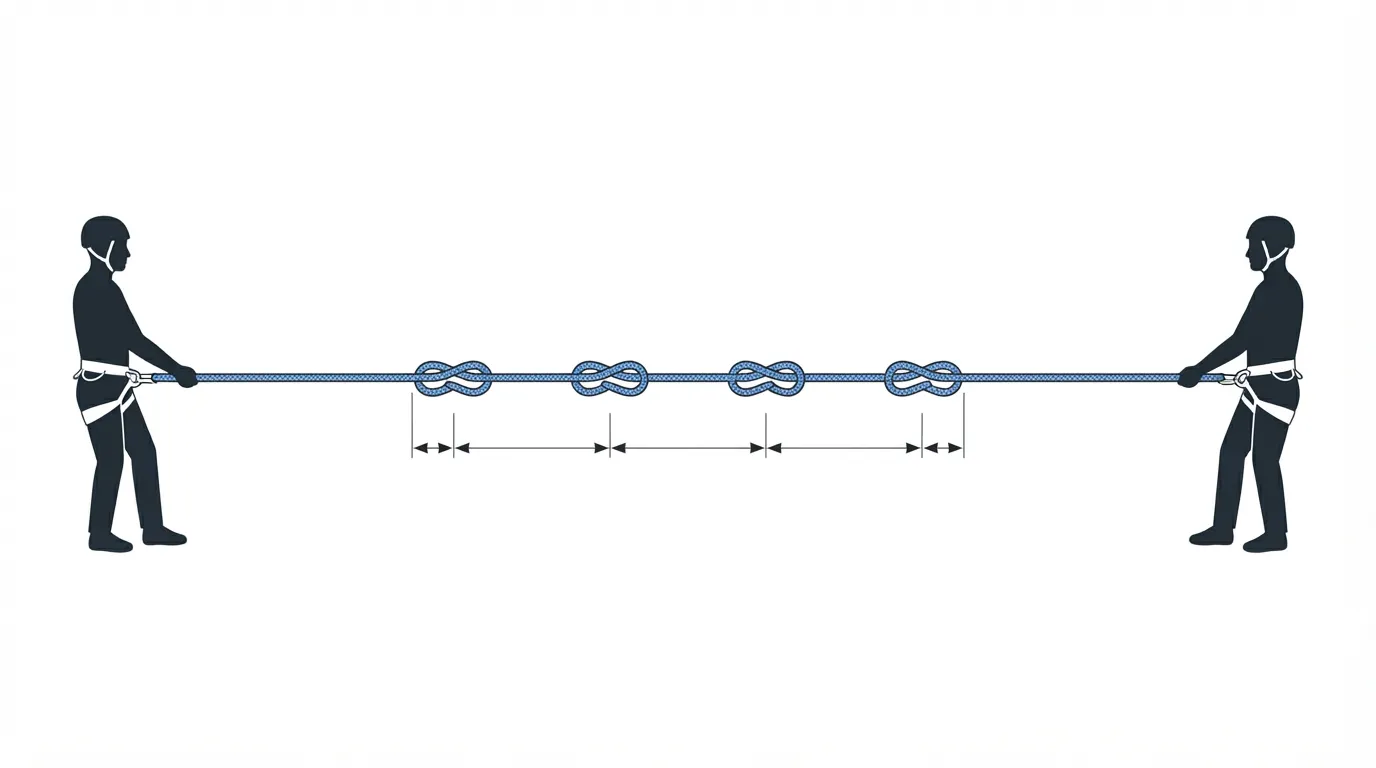
Brake knots serve a specific purpose: as the rope slides across the lip of a crevasse, the snow compressed under its weight causes friction that stops the fall before the entire length is dragged down. In a two-person team without these knots, there is almost nothing to slow the fall before the second person gets pulled straight into the hole as well.
Falling: the crucial first seconds
The fall itself is often shorter than you might imagine: many crevasses taper narrow further down, wedging the body before reaching the bottom. What hits you first isn’t the pain, but the instant cold: the walls are sheer blue ice, the air is stagnant and freezing even in mid-summer, and direct contact with the ice saps body heat far faster than open air.
- Do not make sudden, violent movements. A sharp movement could cause the ledge you’re resting on to give way, or dislodge ice and snow from above you.
- Assess your injuries before doing anything else: check legs, back, head. An impact against an ice wall can cause fractures you won’t immediately feel due to shock and adrenaline.
- Signal that you are alive and conscious, out loud: this is usually the very first piece of information the person on the surface needs to decide what to do next.
- Limit direct contact with the ice as soon as possible: sit on your backpack, keep your limbs away from the walls. Every minute of direct contact drains your core heat.
- Keep your hands and feet moving, wiggle your fingers and toes without major movements: it’s your best defense against frostbite while you wait.
For the partner on the surface, the rope suddenly snapping tight and locking is the only signal: they must immediately anchor themselves (ice axe driven deep, body braced on the snow) before even trying to speak to the victim, or risk getting dragged down as well.
Getting out: haul systems and self-rescue
Two main techniques allow you to get someone out of a crevasse without outside rescue, and they aren’t mutually exclusive: the victim can often assist with their own ascent while being hauled from above.
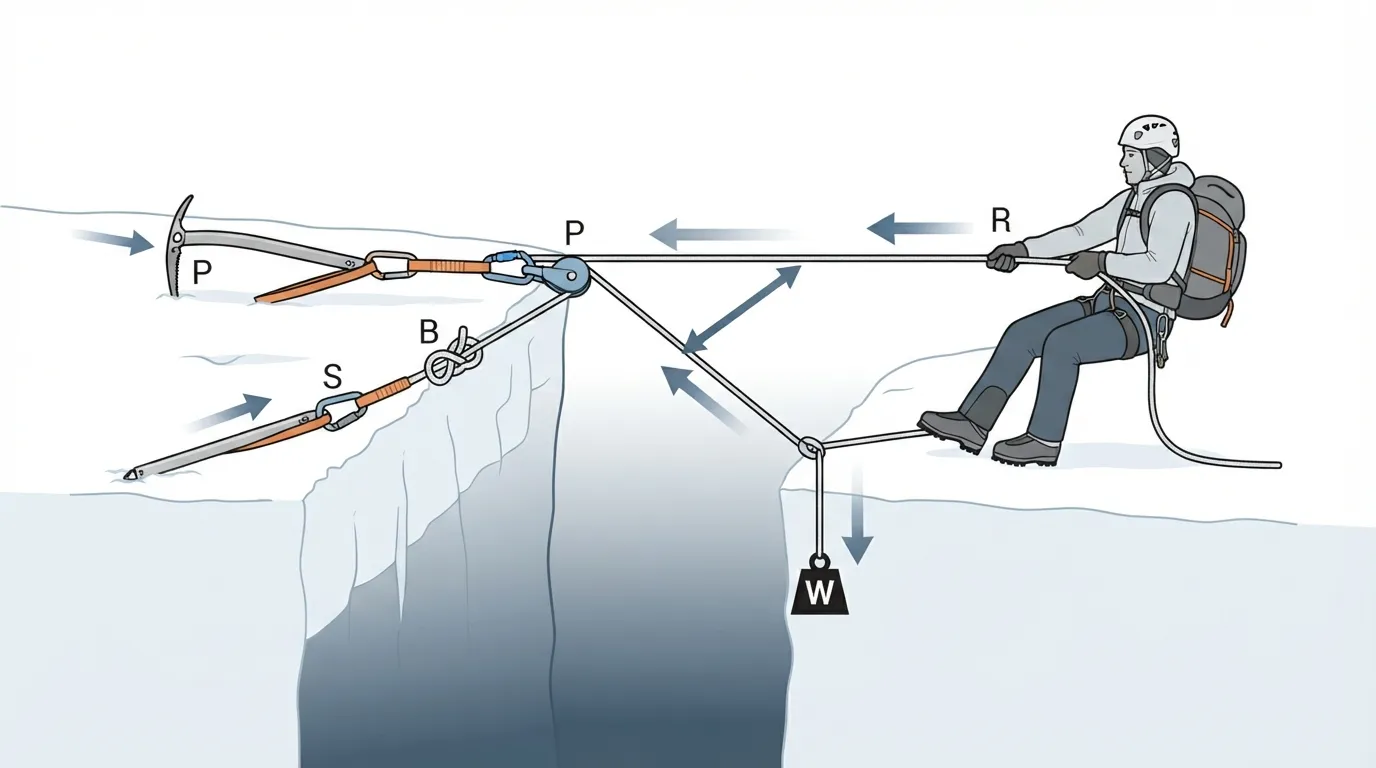
The simple Z-drag haul (often called a 3:1 pulley system due to the shape the rope creates) offers a 3-to-1 mechanical advantage: for every 3 kg pulled by the rescuer, 1 kg of resistance is overcome on the victim’s side, friction notwithstanding. The setup relies on a friction hitch (Prusik) attached to the victim’s line, connected via a pulley and carabiner to an anchor driven into the snow — a buried ice axe placed horizontally (deadman anchor) works well. Protect the edge of the crevasse using an ice axe or a backpack placed under the rope to prevent it from cutting deep into the snow lip during hauling.
Prusik self-rescue is the go-to solution when the victim is uninjured and alone down below, with no one available to haul them up from the surface. Two friction cords (200 to 250 cm long) are hitched onto the weighted rope: one carries body weight (foot loop), the other connects directly to the harness. You ascend in two steps — alternating weight between the two cords until you reach the lip of the crevasse. Overcoming the lip itself is usually the most physically demanding part, as the rope digs hard into the snow edge, dramatically increasing friction.
| Solo self-rescue | Two-person haul | Team haul | Without rope or cordage | |
|---|---|---|---|---|
| Requires an uninjured victim | ✅ mandatory | helpful but not mandatory | helpful but not mandatory | N/A |
| Minimum gear needed | 2 friction cords + main rope | 1 pulley/carabiner + main rope | same, plus extra hands | none |
| Speed | slow, extremely physical | moderate | fast | no way out alone |
| Margin for error | low | moderate | good | almost zero |
Without gear: what you can actually do — very little
Let’s be blunt: without a rope, friction cords, or mechanical locking systems, your real options for pulling someone out of a deep crevasse are practically non-existent. You might extend a tree branch, a ski pole, or a sturdy jacket to a victim near the edge to help them gain leverage on an ice ledge, or improvise an anchor using a pack weighted down with packed snow if the victim can still use their hands. But beyond a few meters of depth, without a mechanical hauling system, your only option is to run for help as fast as possible — marking the exact location (GPS, beacon, landmark) before leaving.
This is precisely why all preparation takes place before setting foot on the glacier: ropes, harnesses, prusik cords, pulleys, and carabiners aren’t optional luxury gear — they are the only reason a crevasse fall is survivable on your own terms.
The aftermath: injuries and hypothermia upon rescue
Even a fall arrested after just a few meters leaves its mark. Slamming into ice walls causes severe bruising and fractured limbs or ribs. Partial immersion in meltwater streaming down the bottom of many crevasses drenches clothing, accelerating hypothermia already triggered by direct ice contact. Anyone trapped for over an hour, even if conscious and seemingly stable, must be treated as potentially hypothermic: warm them up gently without sudden movements once safe, because vigorous movement can dump cold blood from the extremities straight back into the heart, causing cardiac arrest.
The psychological shock is equally real: most rescue reports highlight that victims need continuous verbal reassurance throughout the operation. Darkness, biting cold, and the inability to judge depth disorient people completely.
Case studies: lessons learned
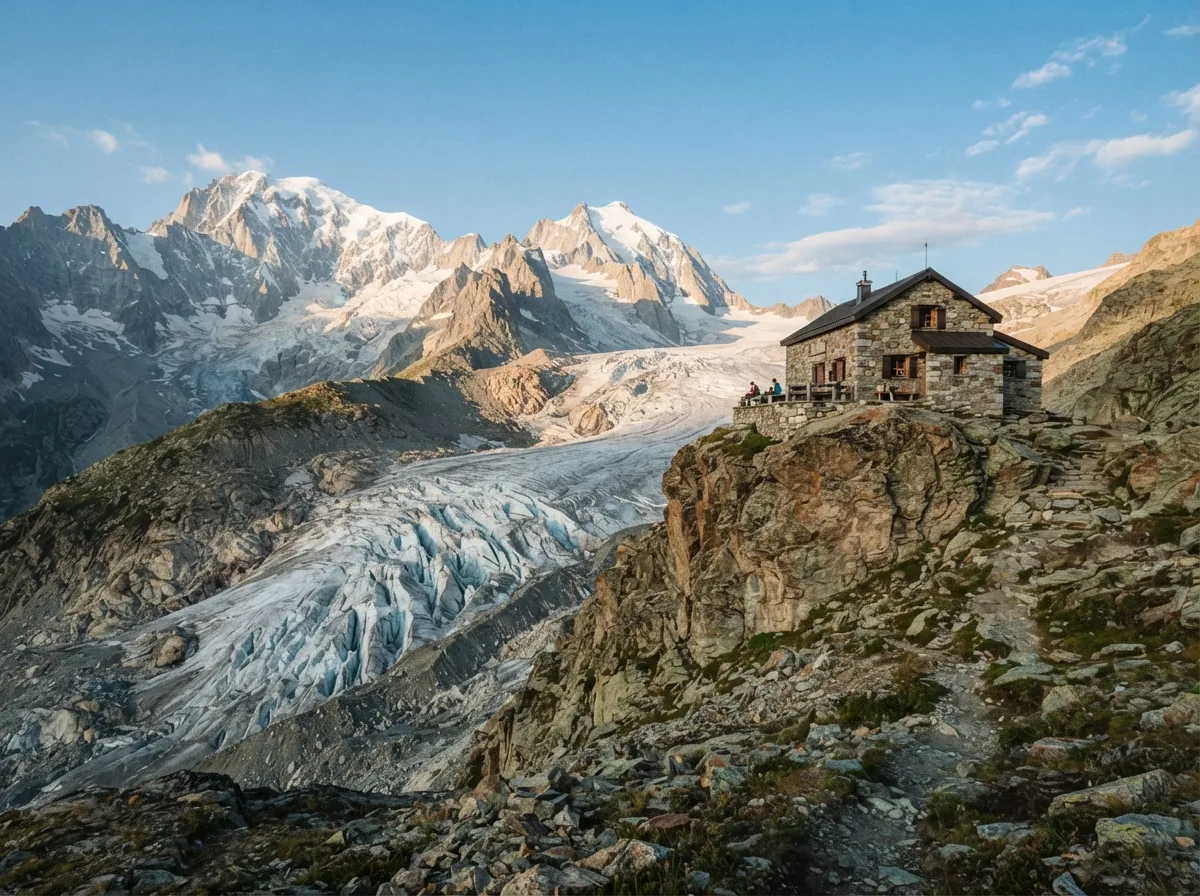
Tête-Rousse, a glacier that killed from afar. On July 12, 1892, an internal water pocket containing nearly 100,000 m³ of liquid suddenly burst open from inside this small glacier in the Mont-Blanc massif. The resulting outburst flood and mudslide roared down the valley all the way to Le Fayet, killing over 175 people in Saint-Gervais — without a single hiker ever setting foot on the ice that day. The glacier is monitored continuously today: a new 65,000 m³ pocket was detected and pumped out in 2010, two more in 2019, and another 60,000 m³ reservoir formed again in early 2025. On the Mont-Blanc standard route, hikers cross a small glacial tongue that many traverse wearing ordinary hiking boots, without ropes or crampons — a gamble that works only as long as the melt-freeze snow underneath holds.
Glacier du Géant and Mer de Glace (2017). A skier in his thirties fell into a crevasse in the Vallée Blanche; his father marked the spot with a ski and then fell into a second crevasse 500 meters further down while searching for cell service to call mountain rescue. According to the rescue team (PGHM), both men were severely under-equipped and inexperienced. In 2022, a 39-year-old woman fell 10 meters when a snow bridge collapsed under her on the Mer de Glace — she survived solely because her rope partner caught her fall.
The Swiss Alps record year. The year 2022 provided a clear warning: bare glaciers, a false sense of security, and nearly double the average number of crevasse accidents compared to the ten-year baseline.
The changing glacier
The Alps have warmed by about 2 °C since the pre-industrial era — double the global average — and Alpine glaciers have lost nearly half their total ice volume since 1850, with melting accelerating sharply since the mid-1980s. Out in the field, this creates three immediate consequences:
- More open crevasses, as retreating snowpack exposes areas that were previously bridged, making historical routes impassable without significant detours.
- More frequent serac falls, such as those on the Taconnaz glacier above Chamonix, which have caused deaths in the area: melting destabilizes massive ice blocks that had remained stationary for decades.
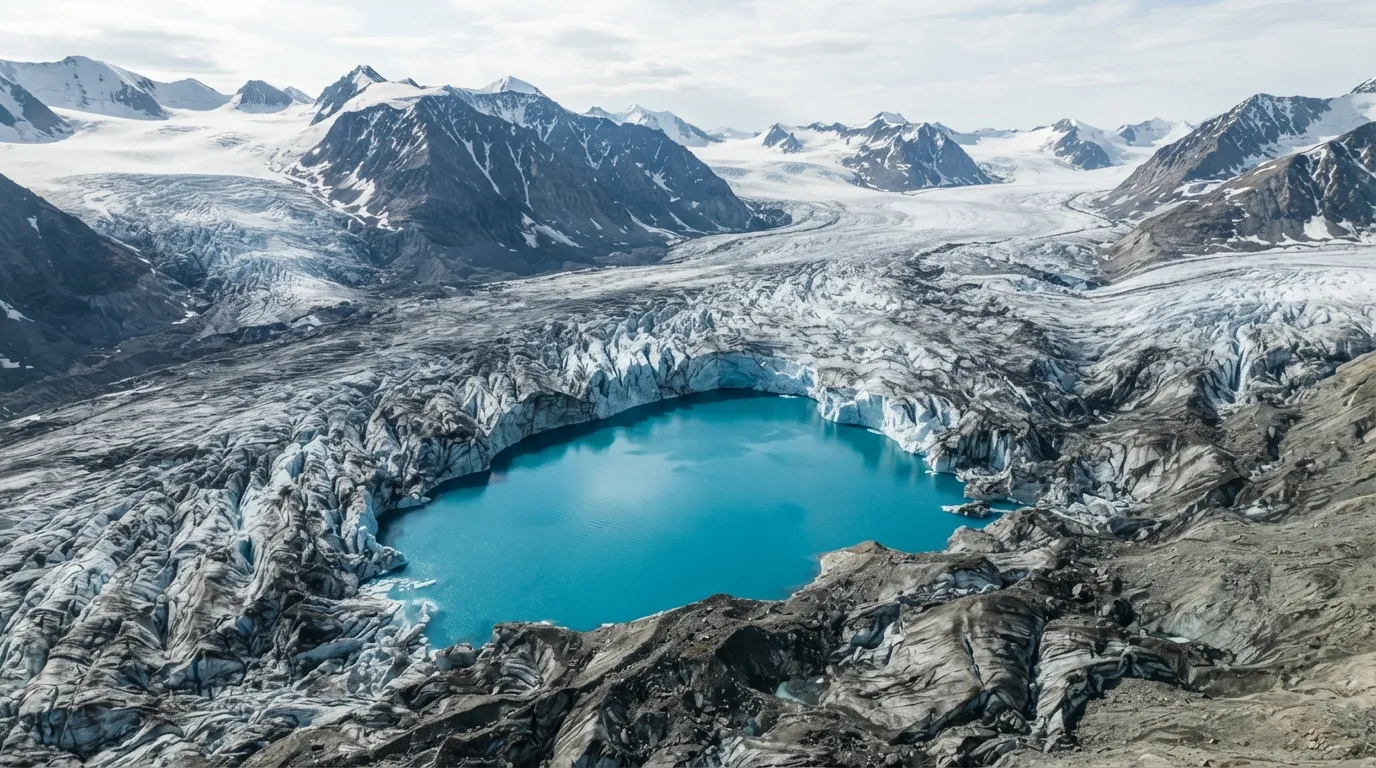
- Supraglacial lakes forming in depressions dammed by loose moraine debris. When meltwater builds up too quickly, these natural dams can fail suddenly, causing flash floods downstream — the same mechanism seen at Tête-Rousse, on a smaller scale.
Drinking on a glacier, and spring snowslides
Glacial meltwater is packed with fine mineral particles known as rock flour (or glacial flour) — ice grinding against bedrocks grinds stone into microscopic silt transported by running water, giving streams their milky or greyish tint. Biologically, this water isn’t inherently more dangerous than other mountain sources, but fine rock dust rapidly clogs mechanical water filters, making pumping nearly impossible. The fix is simple: let the water settle in a container for an hour or two before filtering, allowing heavy mineral particles to sink to the bottom. Pre-filtering through a cloth or coffee filter before using your main filter extends your gear’s lifespan significantly.
Spring brings another threat, this time off the glacier itself: wet spring snow. Once compacted and saturated with water from warmer temperatures, it generates wet snow avalanches. While slower than powder avalanches (20 to 60 km/h), wet slides are far heavier (350 to 500 kg/m³) and carry massive crushing power. They typically release on sun-exposed slopes in late morning or afternoon — following the exact same timeline as glacial snow bridges: what froze hard overnight falls apart under the sun.
Frequently asked questions
Can you cross a glacier without roping up?
It is strongly discouraged, even on a heavily used trail with no visible snow. A rope is the only tool that turns a crevasse fall into a survivable incident; without one, falling through a hidden snow bridge is almost always severe or fatal, regardless of experience.
Why do mountain guides start so early in the morning on a glacier?
Because cold overnight temperatures freeze the surface snow, making snow bridges over crevasses much stronger and helping crampons bite into the surface. As soon as the sun warms the snow, cohesion drops quickly, and a bridge that held a climber at 6 AM can collapse under their weight by early afternoon.
How do you get someone out of a crevasse without rescue gear?
Options are extremely limited: reach out with a ski pole, a tree branch, or a heavy jacket if the victim is close to the top edge, or improvise an anchor using a pack weighted down with packed snow. Beyond a few meters of depth, without a rope or friction hitches, there is virtually no solution: your priority is to get help immediately while noting your exact coordinates.
What is a Z-drag haul system?
It’s a pulley system set up using a rope, a friction hitch, and a snow anchor that creates a 3-to-1 mechanical advantage to haul a victim out of a crevasse. The rope traces an inverted ‘Z’ path between the anchor point, the pulley, and the person pulling, significantly reducing the physical force needed compared to a direct pull.
Are glaciers more or less dangerous than before due to climate change?
More dangerous, and in counter-intuitive ways: reduced snow cover on glaciers — an increasingly common sight — leaves open crevasses exposed, but it also creates a false sense of security. In Switzerland, the year 2022 saw exceptionally low snowpack and nearly double the average number of crevasse falls compared to the previous decade.
What does it feel like immediately after falling into a crevasse?
Freezing cold hits you before the pain does: the walls are bare ice and the air inside is stagnant and cold even in mid-summer, draining body heat rapidly upon contact. This is why the very first thing to do, after assessing injuries, is to minimize contact with the ice — sit on your backpack, keep your limbs off the walls — while waiting to be hauled out.
Key takeaways
- A snow bridge is not permanent: solid in the frozen morning, it can collapse under heat by afternoon — which is why you start early and get off the glacier before noon.
- A rope, rigged with brake knots spaced every 2 meters along its middle third, is the only gear that makes a crevasse fall survivable; soloing on a glacier leaves no safety net.
- In the first few minutes after a fall, cold is the primary threat, not depth: keeping off the ice is just as vital as checking for broken bones.
- The Z-drag (3:1) haul and prusik self-rescue are the primary techniques to rescue someone without professional assistance — and a victim who helps climb cuts the rescuer’s hauling effort in half.
- Without a rope or friction cords, there is virtually nothing you can do beyond a few meters of depth: safety relies entirely on preparation before stepping onto the ice.
Going further
- Ortovox Safety Academy, LAB ICE — Rope teams and self-rescue — a comprehensive free online course on glacier travel.
- ENSA Chamonix, Official YouTube Channel — reference technical modules from the French National Ski and Mountaineering School.
- Andrew Selters, Glacier Travel and Crevasse Rescue (The Mountaineers Books) — the benchmark English-language manual covering glacier travel techniques.
- Swiss Alpine Club (SAC/CAS), Annual Mountain Accident Statistics — data tracking year-by-year shifts in mountain hazards.
Sources for this module (19)
- ENSA Chamonix — Progression sur glacier et sauvetage en crevasse
- Club Alpin Suisse (CAS) — Le mouflage en équipe est le plus efficace
- Ortovox Safety Academy (LAB ICE) — L'auto-sauvetage pour ressortir d'une crevasse
- Ortovox Safety Academy (LAB ICE) — Cordées : distances et encordement sur glacier
- Paulo Grobel — Progression sur glacier et sauvetage en crevasse
- Alpine Mag — ENSA : encordement sur glacier en été
- Objectif Alpinisme — 5 manières de détecter une crevasse sur un glacier
- Objectif Alpinisme — Comment être en sécurité sur un glacier en alpinisme
- Wikipédia — Crevasse (glaciologie)
- Wikipédia — Glacier de Tête-Rousse
- Claude Grandpey — Tête-Rousse : un glacier sous surveillance (19/09/2026)
- Club Alpin Suisse (CAS) — Jamais autant de chutes en crevasse, statistiques 2022 (La Crux)
- France Info — Mont-Blanc : un alpiniste mort après une chute en crevasse sur le glacier du Géant
- Europe1 — Un skieur russe retrouvé mort dans une crevasse du Mont-Blanc
- ICI (France Bleu) — Haute-Savoie : elle chute dans une crevasse et est sauvée par son compagnon de cordée
- Persée — Du blanc au-dessus du vide, monitoring de la formation d'un pont de neige sur crevasse
- Randonner Malin — Comment purifier l'eau en randonnée
- Wikipédia — Farine de roche (farine glaciaire)
- Mon séjour en montagne — Ski de printemps : les bons réflexes pour éviter les avalanches de fonte
Continue in "Critical situations"
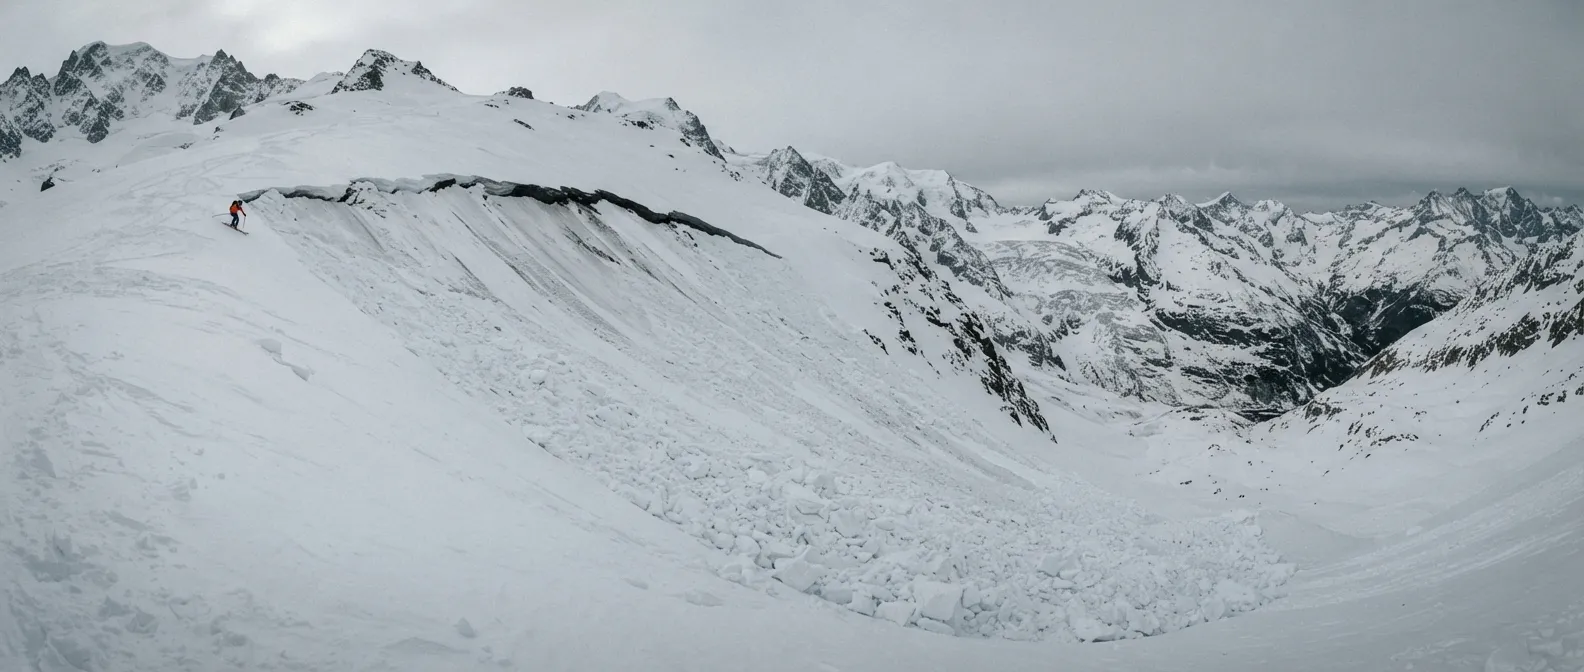
Avalanche: the 15 minutes that decide
A slab breaks loose under your skis, you have fifteen minutes before the stats turn against you: what you need to know instinctively, the night before heading out.
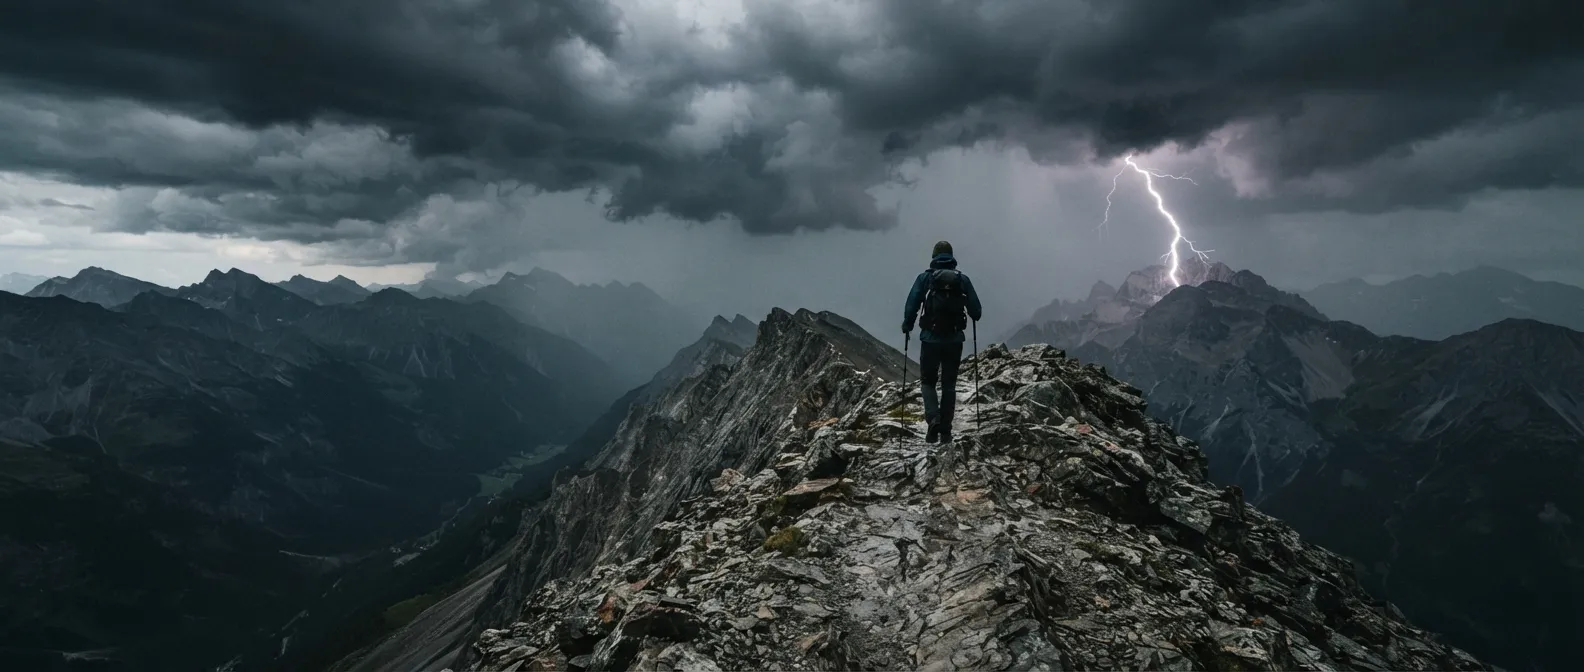
Lightning: When the Sky Targets You
In 3 seconds, a lightning bolt heats the air to 30,000 kelvins and kills 10% of those it strikes: here is what is at stake before you count to thirty.
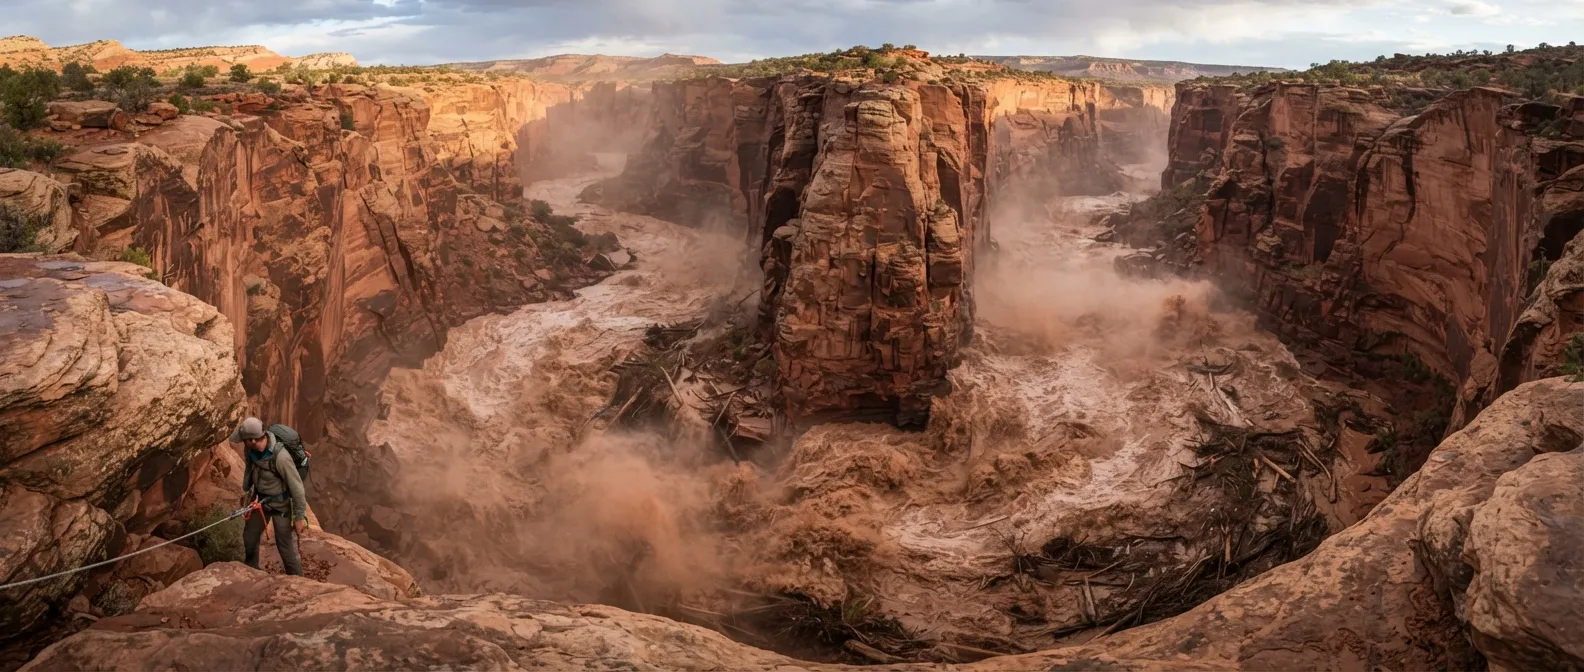
Flash Flood: Water Arriving Faster Than You
It isn't raining where you are, the creek has been dry all morning, yet you have less time than you think before a wall of water rushes down the valley.